1. Add a sprite to the game
In-Page Navigation
Before creating the sprite
-
Click here to download the tutorial pack. Unzip it and put it to the project folder.
-
Create an empty folder called
assets.
The tutorial pack contains some images that you might want to use for your game. Open it and have a look. Your project file should now look like this.
├─ my_first_game/
    ├─ tutorial_pack/
        ├─ ...
    ├─ assets/
    ├─ main.py
Now we are ready to add new sprites in.
1. Put the sprite image to the asset folder
Find an image for the sprite and put it to the folder assets.
This time, let’s choose the chest-open.png inside the tutorial pack.
Now the project folder look like this.
├─ my_first_game/
    ├─ tutorial_pack/
    ├─ assets/
        ├─ chest-open.png
    ├─ main.py
2. Open a new file for the sprite
In Pyscratch, each sprite should have its own python file that contains the codes controlling the sprite. This is analogous to Scratch having different tabs for different sprites.
We open a new file called chest.py, put these lines in, and then save it.
chest.py
import pyscratch as pysc
from pyscratch import game

# This is the line that create the sprite. Note that you need to match the image file name!
chest = pysc.create_single_costume_sprite("assets/chest-open.png")
chest.set_draggable(True) # optional: make the sprite draggable
Project Folder
├─ my_first_game/
    ├─ tutorial_pack/
    ├─ assets/
        ├─ chest-open.png
    ├─ main.py
    ├─ chest.py
3. Import the sprite to main.py
Firstly, main.py is always where you start your game program. If you run chest.py, nothing will happen.
Secondly, You need to add “import chest” in order to tell python to include your code in chest.py to the main program. If you run main.py without the import, you won’t see your new sprite.
main.py
import pyscratch as pysc
from pyscratch import game

import chest # Very important!

# start the game
WIN_WIDTH = 1024 # change me
WIN_HEIGHT = 576 # change me
framerate = 60

game.update_screen_mode((WIN_WIDTH, WIN_HEIGHT))
game.start(framerate)
When you run main.py
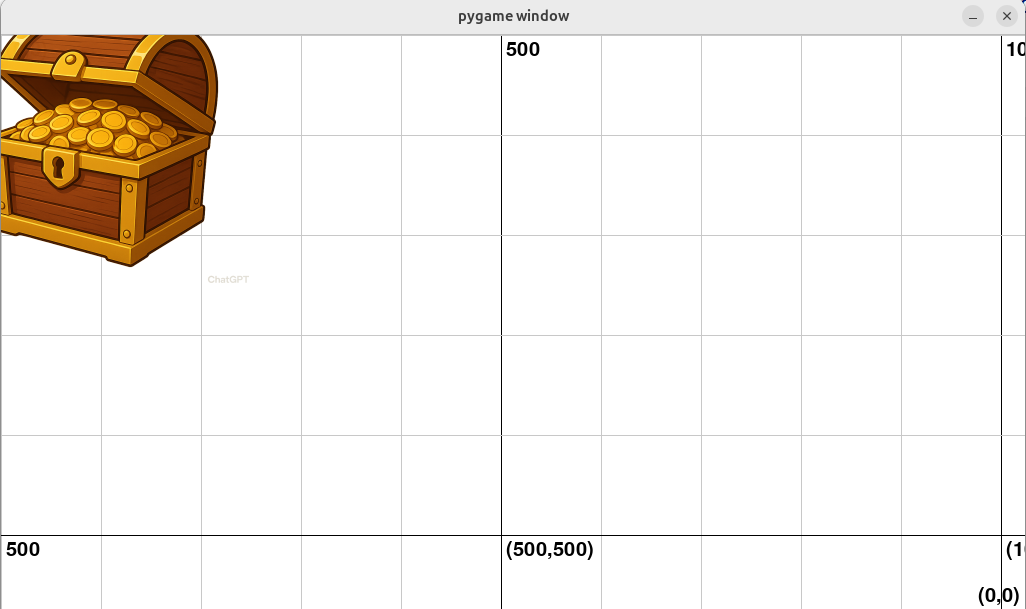
You can also drag the sprite around.
It’s Now Your Turn!
Task 1: Create another sprite called “enemy”.
You can use any image you like. Remember the three-step process:
- Put the image to
assets - Open a new python file and put in those lines
- Import the script to
main.py
Tips
- Remember to save your sprite files before running
main.py pysc.create_single_costume_spriteneed to point to the image you want to use.- Your project folder might look like this:
├─ my_first_game/ ├─ tutorial_pack/ ├─ assets/ ├─ chest-open.png ├─ fish_red_skeleton_outline.png ├─ main.py ├─ chest.py ├─ enemy.py - Your new sprite might be behind the chest. Drag the chest out to see if that’s the case.